


Making Your Gazebo Actually Cozy with Smart Infrared Heat
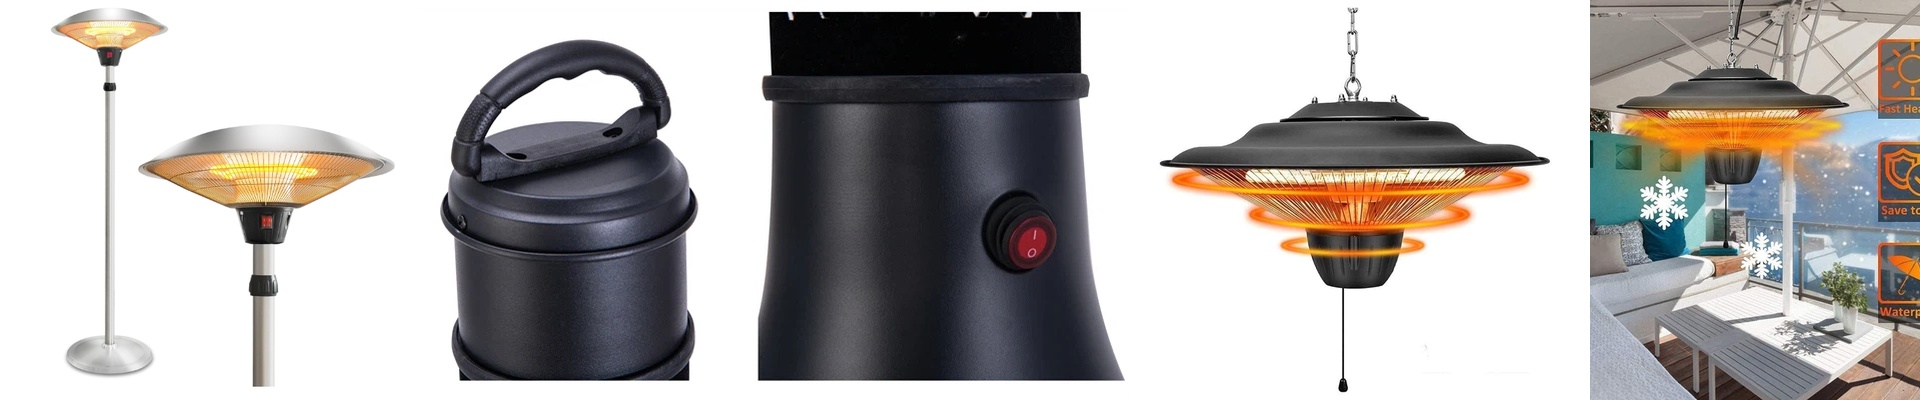
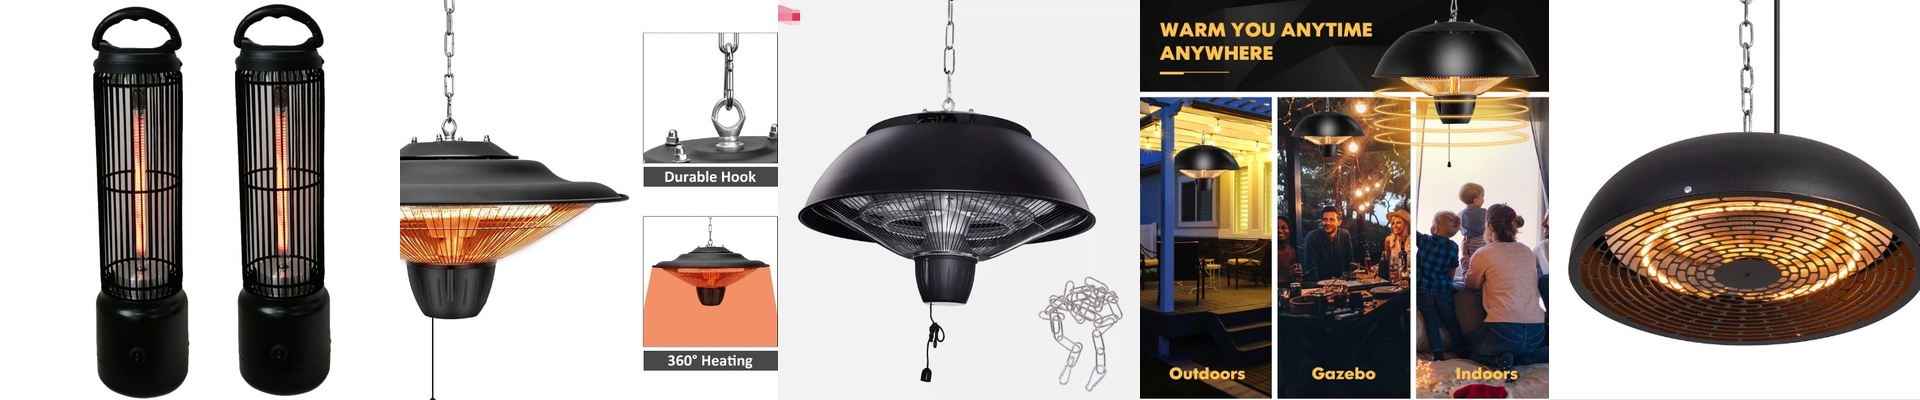
If you’ve ever tried to heat a gazebo with a standard space heater, you know the struggle. You turn it on, the air gets warm for a second, and then a single breeze comes along and blows all that warmth right away. It’s frustrating. That’s why we build our 1500W ceiling heaters using infrared. Instead of trying to fight the wind by heating the air, these units beam heat directly onto you and your guests. It feels like sitting in the sun on a crisp autumn day. You feel the warmth instantly, regardless of how breezy it is outside. Making it “Smart” (Without the Headache) Nobody wants to climb a ladder or fumble with a clunky manual dial every time they want to warm up. We wanted a “one-click” setup. To make that happen, we tucked a heavy-duty relay or a TRIAC dimmer into the power circuit. Think of it as a translator. It lets low-voltage signals from your Zigbee or Matter hubs talk to the high-voltage 1500W heater. You just tap an app on your phone, the circuit closes, and boom—you’ve got heat. No waiting around for the unit to “warm up.” It’s just on. The Nitty-Gritty Stuff We went with 1500W because you need a serious punch of heat to cut through a cold draft. To keep things durable, we use quartz glass to protect the tungsten filaments. These are built for the “on-off-on-off” lifestyle, so you don’t have to worry about burning them out if you’re toggling the power frequently. One quick tip on the wiring: don’t skimp here. Use 14 AWG wiring. If the wires are too thin, you lose voltage, and your heater won’t actually hit those top temperatures. A Few Things to Watch Out For Installing these in a ceiling is pretty straightforward, but there are two things to keep in mind. First, they have some weight to them and they expand as they get hot, so make sure your mounting brackets are rock solid. Second—and this is the important part—these things gethot. Really hot. If you mount them too close to your gazebo’s roof, you might end up scorching your ceiling materials. Just double-check your clearance heights before you screw everything in. Your roof will thank you.